Migrate a WordPress site from EC2 to a Docker Container
In this post — In this post i will try to explain how i moved my wordpress site from EC2 into a docker container again hosted back on EC2. There will be a lot of questions how different it is, as at the end both are hosted on EC2. I will also try to answer it in this post.
In this post i will try to explain how i moved my wordpress site from EC2 into a docker container again hosted back on EC2. There will be a lot of questions how different it is, as at the end both are hosted on EC2. I will also try to answer it in this post.
Dockerizing your site makes it easy to port to any server and spinning up the application in few minutes.
To perform this, you will have to have a Docker installed in your local machine. I already have installed Docker in my local.
Replace your site url to your local host url,so as to make the wordpress site work locally before replacing back to original site url.
Fix any broken links/url.
Create a single Docker Compose file to dowload wordpress docker image and mysql docker image to create respective docker containers.
Run your wodpress site from the container locally.
You can migrate this container back to a new EC2 and host your site via a container — This is not part of this post, but will be part of my next post.
Migrate WordPress to Docker Container:
It is advised to turn-off or disable all your plugins before starting the migration process on your wordpress. However if you wish to go with your plugins you can still export and install the plugins in your local to address any issues.
Export MySql Database from RDS
Login into EC2 server — CLI and perform below,
[ec2-user@ip-10-0-5-71 ~]$ sudo su
[root@ip-10-0-5-71 ec2-user]# bash
[root@ip-10-0-5-71 ec2-user]# mysqldump -h yourdb.aws.dnsname.com -u mysqldb_user_name -p schema_name > awsontop_DBDUMP.sql
Enter password:
[root@ip-10-0-5-71 ec2-user]# ls -lrt awsontop_DBDUMP.sql
-rw-r--r-- 1 root root 10441099 Mar 27 23:16 awsontop_DBDUMP.sql
There are multiple ways to move this database export dump file into your local. I have used S3 here to move the file from EC2 to S3 and from there to my local.
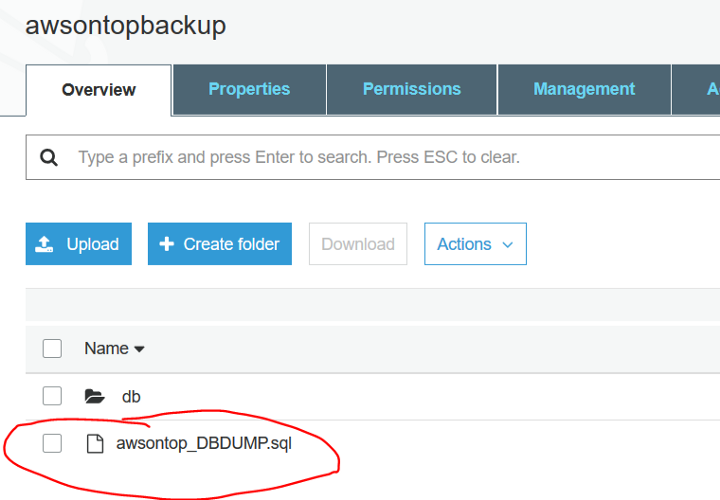
To move the files to S3, create a new bucket. I have created ‘awsontopbackup’ bucket and executed below cli at ec2 ,
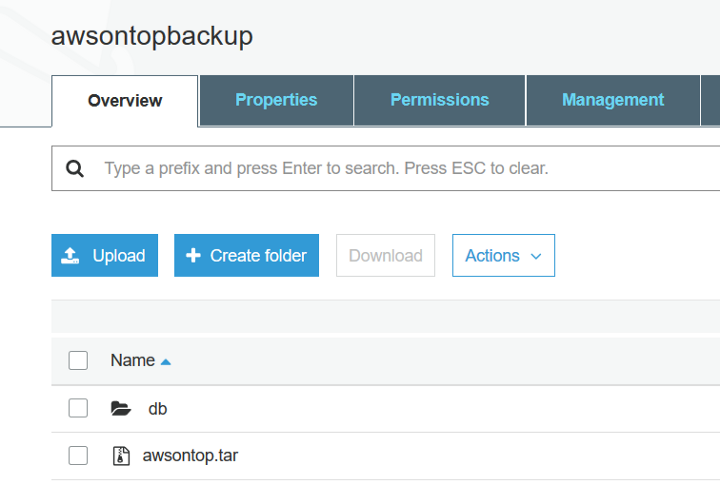
You have now taken the export of your wordpress database. Next you will have to copy the wordpress content from EC2 to your local. You will follow the same process of copying to your S3 and then to your local after tar’ing the source content.
You can start copying from the main ‘/var’ directory itself as below,
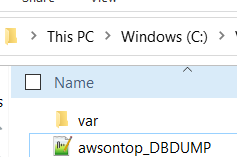
Now you have got both the front end and database exported to S3. Download he same from S3 to your local.
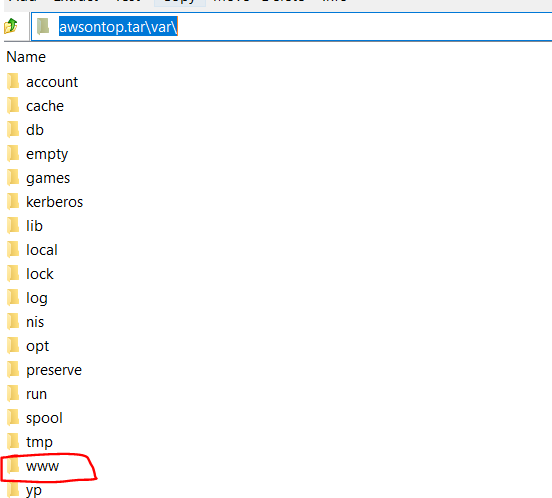
After downloading from S3, you should untar the awsontop.tar. You can use 7Zip for extracting the content on you local machine.
wordpress untar
Create a backup file for your databasedump.sql so as to keep it safe from corruption. I have created a file ‘awsontop_usethis.sql’ from the original databasedump.sql. Open awsontop_usethis.sql l in your favourite text editor and replace the site url to localhost example,
Find ‘http://awsontop.com/’ and replace with ‘http://localhost:8000’ and save the file. You can have port number as desired by you.
Now you are all set to write a Docker-Compose file and create a container for your wordpress site.
Docker Compose:
The full source code of Docker compose file is available at my github repo: Sourcecode.
version: '3.3'services:
db:
image: mysql:5.7
volumes:
- ./awsontop_usethis.sql:/docker-entrypoint-initdb.d/init.sql # prepopulate database from the export you have taken from RDS.
- db_data:/var/lib/mysqlpersist # To persist database data outside of docker container, occasionally you may get issues here. If so just change the location.
restart: always
command: --default-authentication-plugin=mysql_native_passwordenvironment:
MYSQL_ROOT_PASSWORD: wordpresspwd
MYSQL_DATABASE: wordpressDB
MYSQL_USER: wordpressusr
MYSQL_PASSWORD: wordpresspwdwordpress:
depends_on:
- db
image: wordpress:latest
ports:
- "8000:80"
restart: always
environment:
WORDPRESS_DB_HOST: db:3306
WORDPRESS_DB_USER: wordpressusr
WORDPRESS_DB_PASSWORD: wordpresspwd
WORDPRESS_DB_NAME: wordpressDB
volumes:
- ./var/www/html:/var/www/htmlvolumes:
db_data: {}
Now lets break down the docker compose,
Basically you will need 2 services here,
WordPress
MySql
DB Service:
services:
db:
image: mysql:5.7
Name of the service = db.
You will download mysql verion 5.7 from docker hub.
volumes:
- ./awsontop_usethis.sql:/docker-entrypoint-initdb.d/init.sql # prepopulate database from the export you have taken from RDS.
- db_data:/var/lib/mysqlpersist # To persist database data inside docker storage, occationally you may get issues here. If so just change the location.
You have already downloaded the mysql export, use the same to import into mysql database. In our case it is ‘awsontop_usethis.sql’.
‘docker-entrypoint-initdb.d’ is the place where the import will be copied to and mysql starts with this file.
Data persistance for database is taken care via volume:db_data located at /var/lib/mysqlpersist.
command: --default-authentication-plugin=mysql_native_password #This is optional, to validate all database users (including root) using mysql_native_password authentication
Command: default-authentication-plugin=mysql_native_password. This is optional, to validate all database users (including root) using mysql_native_password authentication. The mysql_native_password authentication plugin is the default authentication plugin that will be used for an account created when no authentication plugin is explicitly mentioned.
Above environment details should be self-explanatory. Actually, we will store these passwords in a separate secret file, for ease you can hard here.
WordPress Service:
depends_on:
- db
image: wordpress:latest
ports:
- "8000:80"
restart: always
Your wordpress services is dependent on Mysql DB service, hence the same should be mentioned on ‘depends_on:’ segment.
The Docker image for wordpress, you can download either the latest version or version of your choice. You can find all official wordpress image here.
Ports 8000 is the port on which your browser will be hit. And-in turn it should look for a port:80, which is WordPress port inside Docker container.
Environment details are ver much self-explanatory, to connect to mysql service.
Local Volume to be mapped to container volume for data persistence — ./var/www/html:/var/www/html.
Once you have completed your docker compose file, all you need to do is jus run below comand
PS C:\wordpress\Container> docker-compose upCreating network "container_default" with the default driver
Creating volume "container_db_data" with default driver
Pulling db (mysql:5.7)...
This will download both the wordpress & mysql docker image from docker hub. Docker compose will automatically establish network connection between these services.
You can run docker ps -all command to check the containers which got just launched in another shell.
PS C:\wordpress\Container> docker ps --all CONTAINER ID IMAGE COMMAND CREATED STATUS PORTS NAMES
5e7736f6255c wordpress:latest "docker-entrypoint.s…" 3 days ago Up 2 minutes 0.0.0.0:8000->80/tcp container_wordpress_1
177a2fd3eb7b mysql:5.7 "docker-entrypoint.s…" 3 days ago Up 2 minutes 3306/tcp, 33060/tcp container_db_1
Under the wordpress container service, you can clearly see the port mapping ‘0.0.0.0:8000->80/tcp ‘, local host port:8000 is mapped to port:80 of docker container.
Thats all is required to move a wordpress to Docker container.
Conclusion:
Migrating wordpress to Docker makes it more portable and ease the blue green deployments, not just with wordpres for that matter a lot of websites can be upgrade without any downtime. If you developed these steps in your local, it is important to remove the images and volumes free up space. Use the below commands for same.
docker-compose down
docker-compose down --rmi all
docker volume prune
docker system prune
In my next post will be on how to move this docker image from your local to AWS ec2.